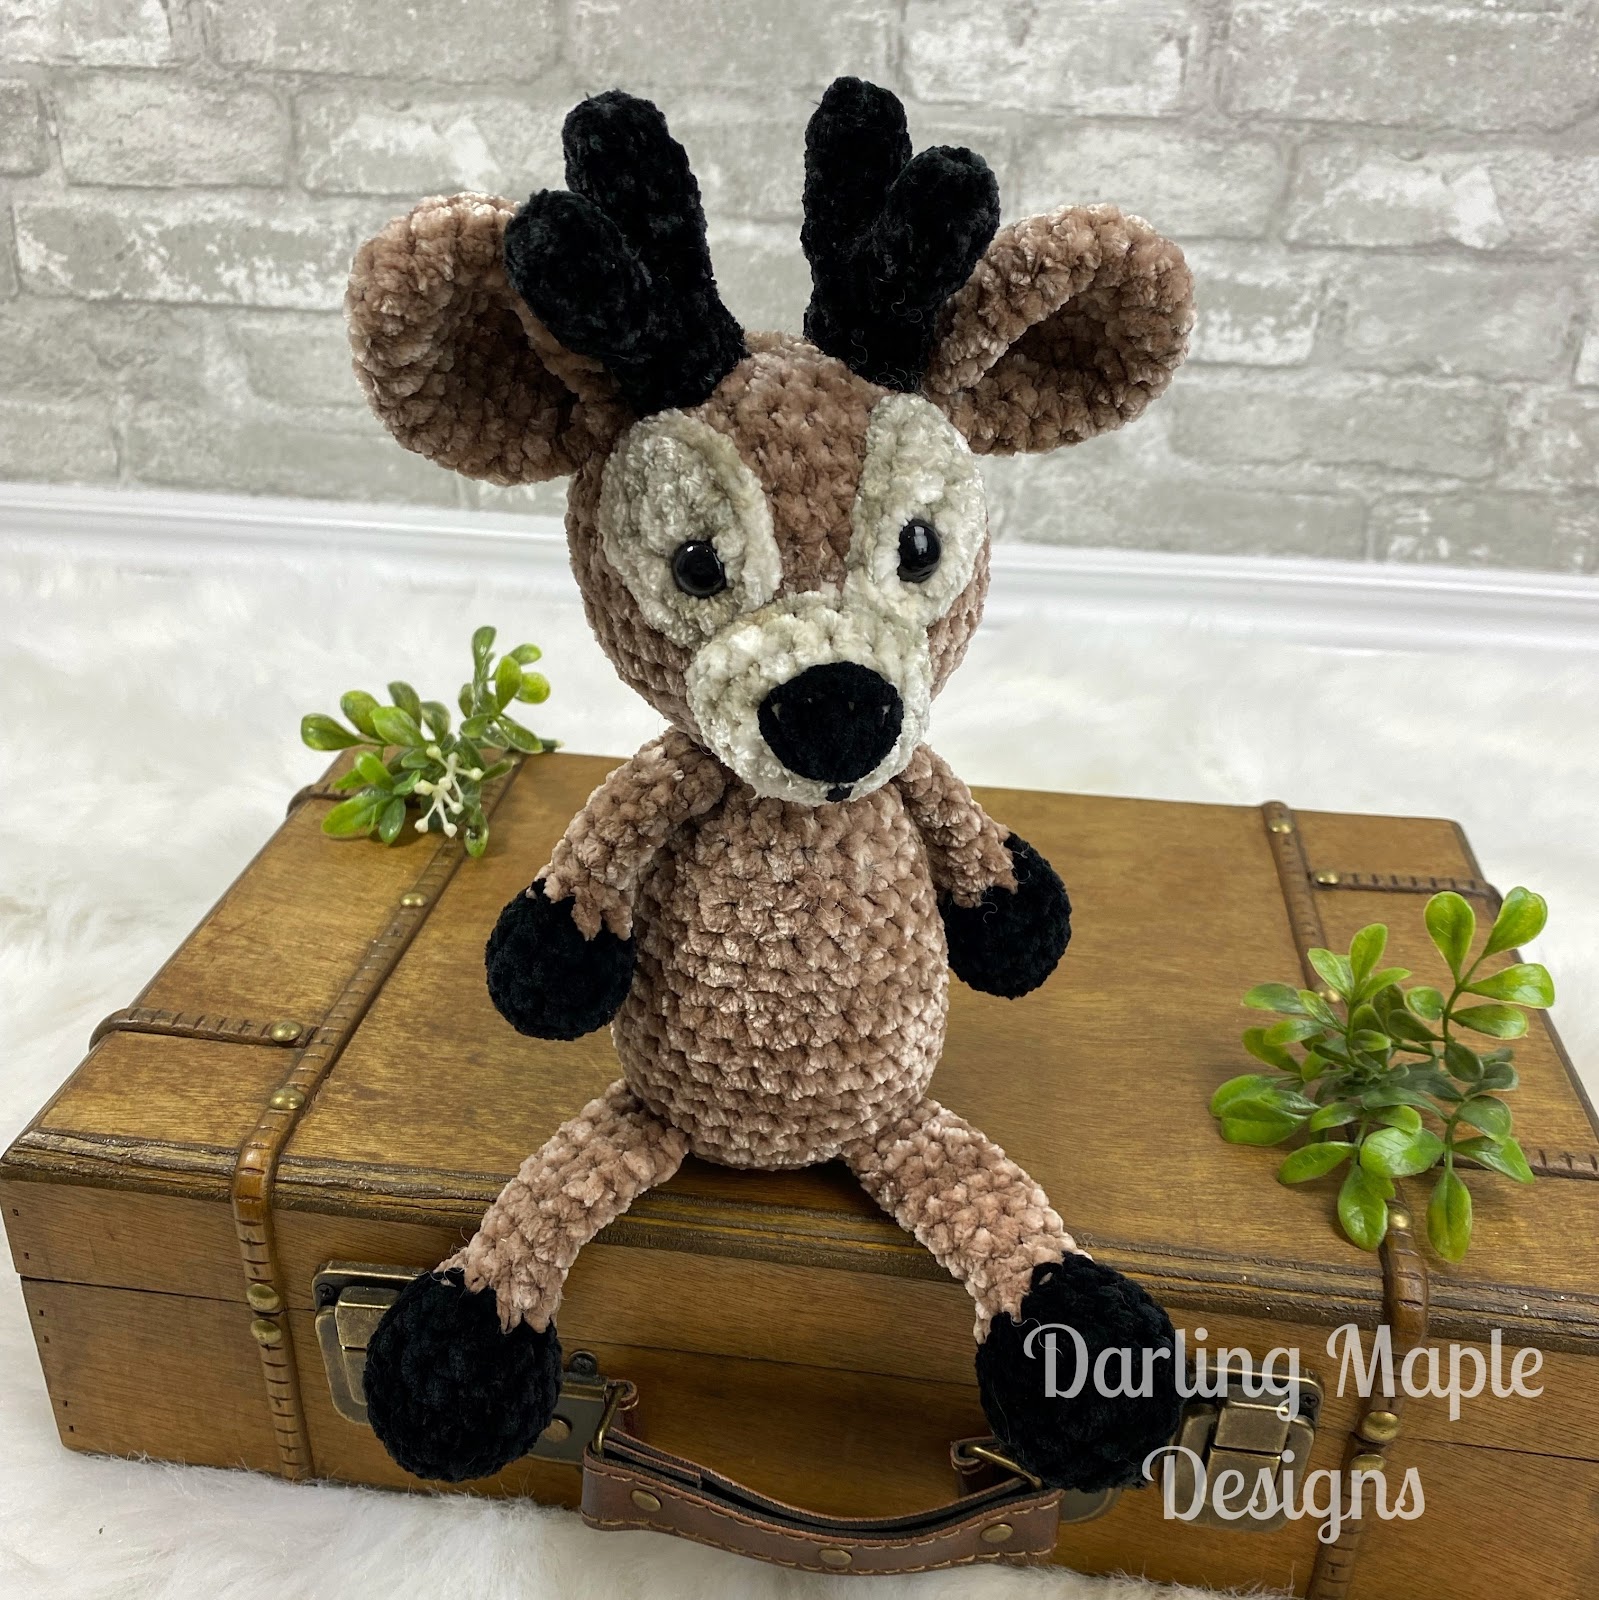
New Pattern Release – Flip Flop Deer Crochet Pattern! This adorable little Deer has joined the Free Flip Flop pattern series this week.
Like his Flip Flop cousins (see Kitty, Teddy, Bunny) this Deer crochet pattern has been designed using a combination of Bernat Velvet and Bernat Crushed Velvet. This chenille style bulky weight (5) yarn makes some of the most soft, squishy lovable animals. The yarn can be found at most local Michaels and Walmart stores as well as online at www.yarnspirations.com. The Deer pictured above on the right was made using Loops and Threads Chenille Home (7) Jumbo Yarn, a 9.0mm (M/N) hook and 35mm safety eyes. Feel free to experiment with your favourite Amigurumi yarns as well! Check out this post for some guidelines on how.
The pattern is shown using 12mm safety eyes, from Suncatcher Craft Eyes (Danielle is fantastic and I highly recommend her eyes). For those of you wanting to sell or gift to kids under 3, the pattern also includes a video link for embroidering sleepy eyes.
All the patterns in the Flip Flop Series work up quickly and easily with minimal sewing required. The head and body are worked in one piece with the option to crochet the limbs in as you go. The patterns also include video tutorials to assist if you need it. Since they work up so quickly the Flip Flop Animals are perfect to take to your next craft market or make as a last minute gift.
Check out the Flip Flop Deer crochet pattern below or grab the inexpensive ad-free PDF with additional helpful photos on Ravelry or Etsy
Want to stay up to date on all the Darling Maple Designs happenings? Then be sure to subscribe to my newsletter ![]()
Thank you so much for being here and crocheting with me ![]() .
.
Please share your work by tagging me on FB or IG @darlingmapledesigns or use #darlingmapledesigns for a chance to have your work featured in my IG stories! ![]() Sara
Sara
Interested in more cute crochet patterns? Check these out!
What you will need for your Flip Flop Deer Crochet Pattern

Materials:
Hook size 5.5 mm (I)
Main Colour – Bernat Velvet Mushroom (80 yards)
Accent Colours – 40 yards (Bernat Velvet Black), 30 yards (Bernat Crushed Velvet White)
- Polyester filling – small amount
- 2 – 12mm black safety eyes (not suitable for children under 3): see video for embroidering sleepy eye as an alternative.
- Stitch Markers or Safety pins to help with sewing placement
- Yarn needle to weave in the ends
Gauge:
4 Rounds of Gauge Pattern = 2.0 inch diameter
Gauge Pattern:
Create a Magic Ring
Round 1: 6sc in the ring (6)
Round 2: 2sc in each st (12)
Round 3: *sc, 2sc* 6 times (18)
Round 4: *sc in the next 2 sts, 2sc* 6 times (24)
Abbreviations:
| ch | chain |
| sc | single crochet |
| scdec | single crochet decrease |
| ss | slip stitch |
| st(s) | stich(es) |
| *to* | repeat the sequence between the ** the number of times indicated |
Special Stitches & Techniques:
Magic ring – https://youtu.be/s3xHu-fmQ6k
No Sew Limbs Method
Attaching Legs: https://youtu.be/W7x8-ylZiyU
Attaching Arms: https://youtu.be/-m_GTt5JVNE
Embroider Nose – https://youtu.be/8I4XQw8sRfQ
Sleepy Eyes – https://youtu.be/4kO0XAkXMGo
Notes:
- #sc, eg. (2sc, 3sc, etc) shows the number of scs to be completed in the indicated st
- Sts listed between brackets are all worked in the same st, eg. (hdc, dc)
- I highly recommend using a stitch marker to help keep track of the rounds for the body/head
- The pattern has both a ‘sew’ and no sew option for the limbs shown in the Body/Head section.
Recommended Sequence:
It is highly recommended to complete the Flip Flop patterns in the order they are written (especially if you are using the no-sew option for the limbs).
Start your Flip Flop Deer Crochet Pattern
Arms (make 2):
The arms are worked from the “hoof” to the body, in continuous rounds.
Using Black, create a Magic Ring
Round 1: 6sc in the ring (6)
Round 2: *2sc* 6 times (12)
Round 3-4: sc in each st (12)
Round 5: *sc in the next 2 sts, scdec* 3 times (9), change to Main Colour
Round 6: *sc, scdec* 3 times (6)
Stuff only the ‘hoof’ portion of the arm, the rest will be left unstuffed
Rounds 7-12: sc in each st (6)
Flatten and sc through both sides (3sts).
End off leaving a 12 inch tail if sewing.
Legs (make 2):
The legs are worked from the “hoof” to the body, in continuous rounds.
Using Black, create a Magic Ring
Round 1: 6sc in the ring (6)
Round 2: *2sc* 6 times (12)
Round 3: *sc in the next 3 sts, 2sc* 3 times (15)
Rounds 4-6: sc in each st (15)
Round 7: *sc in the next 3 sts, scdec* 3 times (12), change to Main Colour
Round 8: *sc in the next st, scdec* 4 times (8)
Stuff only the ‘hoof’ portion of the leg, the rest will be left unstuffed
Rounds 9-16: sc in each st (8)
Flatten and sc through both sides (4sts).
End off, leaving a 12 inch tail if sewing.
Face (make 2):
The face pieces are made in continuous oval rounds.
Using White, ch 5
Row 1: sc in the 2nd ch from the hook, sc in the next 2 sts, 3sc in the last ch, turn (rotate) and begin working in the bottom of the chain, sc in the next 2 sts, 2sc in the last st (10)
Row 2: 2sc, sc in the next 2 sts, *2sc* 3 times, sc in the next 2 sts, *2sc* twice (16)
End off, leaving a 12 inch tail if sewing.
Body/Head:
The body and head are worked in one piece from the bottom up in continuous rounds.
Option 1: Sewing the Legs and Arms to the body
If you are sewing your legs and arms onto your body then ‘sc in each st’ for Round 6 and Round 21.
Option 2: Crochet Legs and Arms to the body
If you are crocheting your legs and arms onto your body please follow the pattern as written for the Body/Head.For assistance in crocheting the limbs on see Videos:
Attaching Legs: https://youtu.be/W7x8-ylZiyU
Attaching Arms:https://youtu.be/-m_GTt5JVNE
Using Main Colour, create a Magic Ring
Round 1: 6sc in the ring (6)
Round 2: *2sc* 6 times (12)
Round 3: *sc in the next st, 2sc* 6 times (18)
Round 4: *sc in the next 2 sts, 2sc* 6 times (24)
Round 5: *sc in the next 3 sts, 2sc* 6 times (30)
Round 6 Option 1: sc in each st (30)
| Option 2: Hold your first leg in front of your work (body). Working through both pieces, sc in the next 4 sts, working through the body only, sc in the next 5 sts, Hold the second leg in front of your work (body). Working through both pieces, sc in the next 4 sts, working through the body only, sc in the last 17 sts (30). |
 |
Rounds 7-12: sc in each st (30)
Round 13: *sc in the next 3 sts, scdec* 6 times (24)
Rounds 14-16: sc in each st (24)
Note: You may want to begin stuffing
Round 17: *sc in the next 2 sts, scdec* 6 times (18)
Round 18-19: sc in each st (18)
Round 20: *sc in the next st, scdec* 6 times (12), end off, weave in end.
Round 21 Option 1: , sc in each st (12)
Option 2: Place the animal down on a hard surface with the body face ‘up’ and the legs facing you. Locate the 3 centre front sts and mark them with a stitch marker (the arms will be placed on either side of these sts). Locate the far right marked st. Count over 3 sts to the right of it and attach your yarn to the body. (If left handed you will locate the left st and count over 3 sts to the left).
Place the first arm in front of the body to the right of the marked sts (left if you’re left handed). Working through both pieces (beginning with the first st of the arm and the stitch on the body you attached your yarn to), sc in the next 3 sts.
Working through the body only, sc in the next 3 sts (these are your marked sts). Place the second arm in front of your work (body). Working through both pieces, sc in the next 3 sts, working through the body only, sc in the last 3 sts (12).
  |
Round 22: *sc in the next st, 2sc* 6 times (18)
Round 23: *sc in the next 2 sts, 2sc* 6 times (24)
Round 24: *sc in the next 3 sts, 2sc* 6 times (30)
Round 25: *sc in the next 4 sts, 2sc* 6 times (36)
Rounds 26-31: sc in each st (36)
Add safety eyes by putting them through the face (at the end of Round 1) and then through Round 29 or the head approximately 5-6 sts apart (2-3 sts showing), continue stuffing head. Round 32: *sc in the next 4 sts, scdec* 6 times (30)
Round 33: *sc in the next 3 sts, scdec* 6 times (24)
Round 34: *sc in the next 2 sts, scdec* 6 times (18)
Finish stuffing
Round 35: *sc, scdec* 6 times (12)
Round 36: *scdec* 6 times (6)
End off leaving a 6 inch tail, cinch the last 6 sts together and weave in the end.
Muzzle:
Made in continuous rounds.
Using White, create a Magic Ring
Round 1: 6sc in the ring (6)
Round 2: *2sc* 6 times (12)
Round 3: *sc in the next 3 sts, 2sc* 3 times (15)
Round 4: *sc in the next 4 sts, 2sc* 3 times (18)
Round 5: sc in each st (18)
End off leaving a 12 inch tail for sewing.
Ears: (make 2)
Made in continuous rounds beginning with the tip of the ear.
Using Main Colour, create a Magic Ring
Round 1: 6sc in the ring (6)
Round 2: *2sc* 6 times (12)
Round 3: *sc in the next 3 sts, 2sc* 3 times (15)
Round 4: *sc in the next 4 sts, 2sc* 3 times (18)
Rounds 5-7: sc in each st (18)
Round 8: *sc in the next 4 sts, scdec* 3 times (15)
Round 9: *sc in the next 3 sts, scdec* 3 times (12)
Do not stuff, ss in the next st. Flatten and sc through both sides (6 sts), ch1 fold in half lengthwise, sc the 2 sides together (3 sts).
End off leaving a 12 inch tail for sewing to the head.
Antlers (make 2 of each):
Made in continuous rounds with Piece 1 and Piece 2 being crocheted together at Round 5 of Piece 2.
Piece 1:
Using Black, create a Magic Ring
Round 1: 6sc in the ring (6)
Rounds 2-4: sc in each st (6)
End off leaving a 6 inch tail for sewing up hole from crocheting to ‘piece 2’’.
Piece 2:
Using Black, create a Magic Ring
Round 1: 6sc in the ring (6)
Rounds 2-4: sc in each st (6)
You will be crocheting the ‘piece 1’ onto the ‘piece 2’ in Round 5.
Round 5: join with a sc onto ‘piece 1’, scdec, sc, scdec, join with a sc onto ‘piece 2’, scdec, sc, scdec (8)
Rounds 6-8: sc in each st (8)
End off leaving a 12 inch tail for sewing to the head.
Tail:
Inner piece created in 1 joined oval round. Outer piece, created in continuous oval rounds.
Inner Piece: Using White, ch 5
Round 1: sc in the 2nd ch from the hook, *2hdc* twice, 3sc in the last ch, turn and begin working in the bottom of the chains, *2hdc* twice, sc, join to first st (13)
End off, weave in end
Outer Piece: Using Main Colour, ch 5
Round 1: sc in the 2nd ch from the hook, *2hdc* twice, 3sc in the last ch, turn and begin working in the bottom of the chains, *2hdc* twice, sc (13)
Do not end off, work in continuous rounds.
Round 2: With both pieces face up, place the inner piece on top of the outer piece, working through both pieces, sc in the next 5 sts, *2sc* 3 times, sc in the next 5 , join to first st of Round 2 (16).
End off, leaving a 12 inch tail for sewing
Sewing Placement – I highly recommend pinning ALL parts in place BEFORE sewing to make sure everything sits properly and is to your liking 🙂
| Note: Disregard sewing the legs and arms if you’ve already crocheted them on. Legs: Place the legs at approx Round 5 of the body about 4 sts apart.Sew in place. When sewing the legs in place I sewed the top of the last FULL ROUND DOWN instead of just the sts from crocheting the round together. |
| Arms: Place the arms at approx Round 21 of the body, approx 3 sts apart. Sew in place. When sewing the arm in place I sewed the top of the last FULL ROUND DOWN instead of just the sts from crocheting the round together. |
| Face: Angle the top end of the face pieces away from the centre of the face so there are approx 6 sts between at the top and 2-3 sts at the bottom. Sew around the outer edge of each face piece. |
| Nose: Follow video for embroidering the nose. Feel free to embroider before or after sewing the muzzle in place. Video: https://youtu.be/8I4XQw8sRfQ |
| Muzzle: Centre the muzzle on the body placing it between Rounds 22 and 28 on the head and covers the bottom of the face pieces. Stuff lightly and sew down along Round 6 of the muzzle. |
| Ears: Place the ears running from Round 31-33 approx 1-2 sts behind the top of the face pieces. Sew in place.. |
| Antlers: Place the antlers next to the inner part of each ear. Sew in place |
| Tail: Centred on the back of the body with the inner tail facing out. Place on Round 6 of the body and sew in place. |
Congratulations!
You have now completed your Flip Flop Deer Crochet Pattern.
We love seeing your finished projects. Tag us in your photos and posts using #DarlingMapleDesigns or @darlingmapledesigns.
Thank you so much for joining us! I hope you loved completing your Flip Flop Deer Crochet Pattern as much as I enjoyed designing it. Don’t want to miss a stitch? Subscribe to the Darling Maple Designs newsletter and I’ll send updates for new pattern releases, sales and promotions straight to your inbox. See you again soon! Sara <3
If you have any questions or concerns with this, or any other pattern written by Darling Maple Designs, please do not hesitate to contact me at: info@darlingmapledesigns.com.
Don’t forget to Pin it to your project board.
