
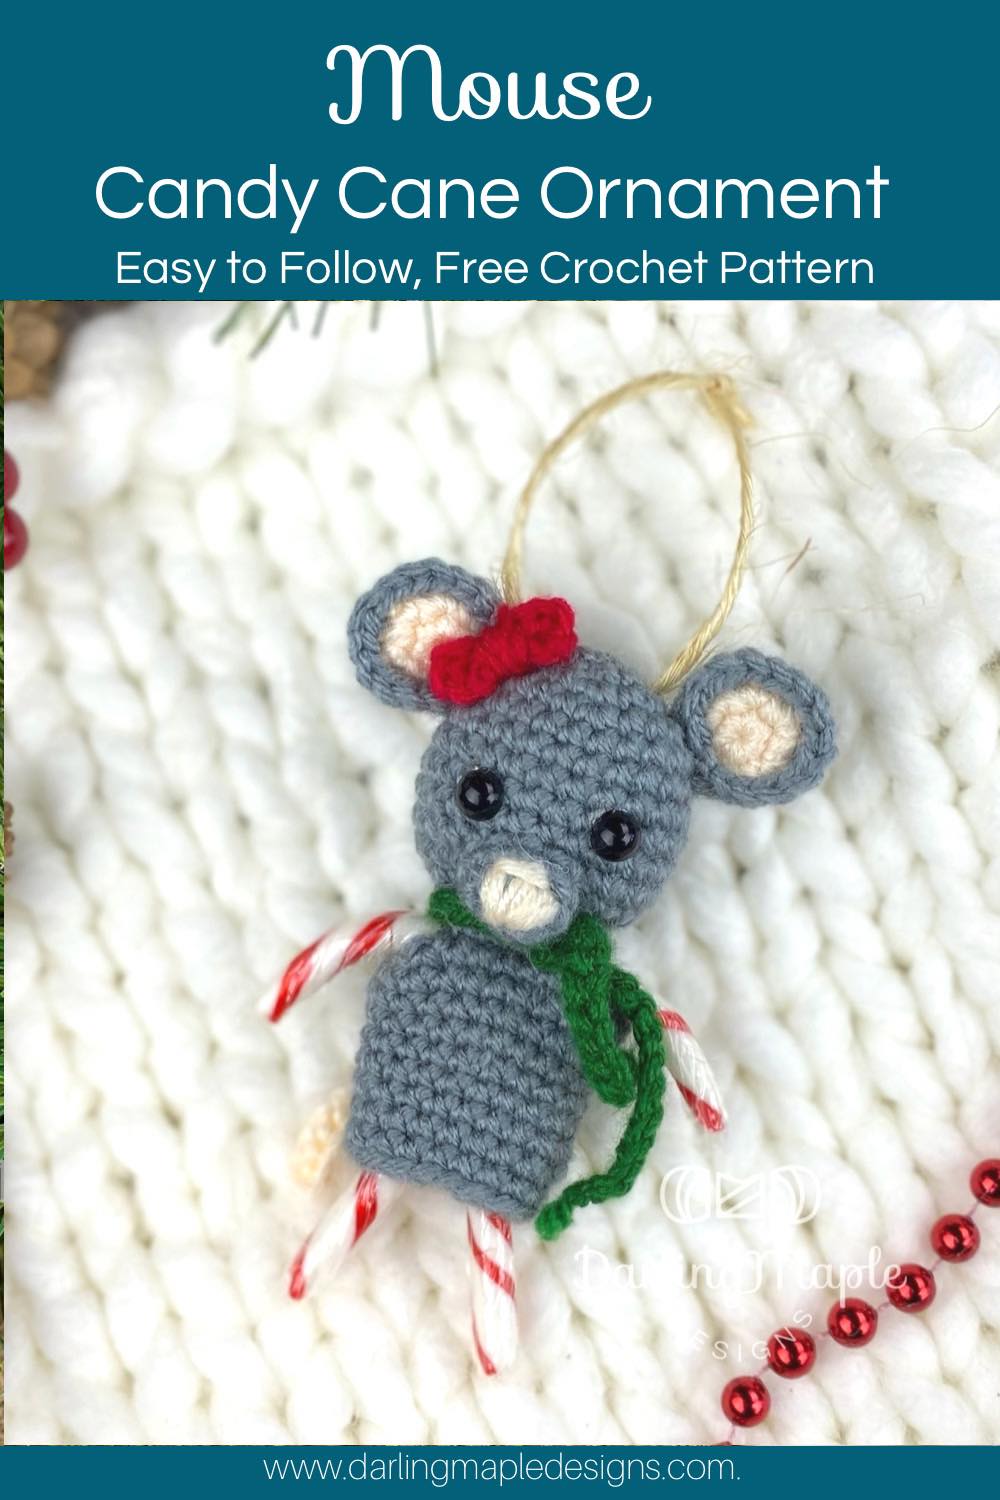
This adorable Candy Cane Mouse Ornament makes a gorgeous addition to your holiday decorating – with its unique, mini candy cane arms and legs! Perfect as a Christmas decoration or a small gift, this little mouse brings with it that cozy feeling that mice carry around with them. Follow the free pattern to make this seasonal favourite, which is suitable for advanced beginners and above.

It’s Easy to Grab the Whole Candy Cane Holder Collection!
There are (16) sixteen patterns in the Candy Cane Holder Ornament collection! And you can grab all of this cuteness straight away, with the Crochet Candy Canes Bundle e-book!
The Candy Cane Ornament Bundle includes the FULL 16 pattern collection, with process photos, tutorial links and a clickable table of contents!
This crochet pattern collection includes instructions to create the Santa, Snowman, Reindeer, Kitty, Dinosaur, Unicorn, Bear, Puppy, Mrs. Claus, Elf, Mouse, Moose, Gingerbread Boy, Gingerbread Girl, Penguin, and Giraffe!
Allll this cuteness is available NOW! Check out the 16 Pattern Candy Cane Collection Bundle on Ravelry or Etsy!

The Best Yarn and Safety Eyes for Candy Cane Ornaments
The Candy Cane Ornament Collection has been designed using a combination of WeCrochet’s Brava Worsted Yarn (4) and Brava Tweed Worsted (4). The yarn is super soft and the colours are amazing. I absolutely loved working with it for this project. The Brava Worsted yarn lines can be found on the WeCrochet website. You can also use your favourite medium (4) weight yarn. It is not recommended to adjust the weight of yarn with this project.
The pattern is shown using 6mm flat back black pearls that have been hot glued in place. You could also use 6mm safety eyes if preferred, or embroider the eyes on later. Disclaimer – if the ornaments will be within reach of children 3 and under, then flat back pearls or safety eyes can be a choking hazard. Check out the material section below for the rest of the materials needed to crochet your own Candy Cane Mouse Ornament this Christmas!
Low-Sew Candy Cane Amigurumi Decorations
The Candy Cane Ornaments work up quickly and easily, with minimal sewing. The head and body are worked in one piece. This means that only the facial features and tail need to be sewn or embroidered on.
I love how unique and adorable all of the little guys in this bundle are. If you want to use your mini mouse amigurumi at other times of the year, the free pattern includes instructions for curly cue limbs as well!
Check out the Candy Cane Mouse Ornament crochet pattern below or grab the inexpensive ad-free PDF with additional helpful photos on Ravelry or Etsy
Want to stay up to date on all the Darling Maple Designs happenings? Then be sure to subscribe to my newsletter ![]()
Thank you so much for being here and crocheting with me ![]() .
.
Please share your work by tagging me on FB or IG @darlingmapledesigns or use #darlingmapledesigns for a chance to have your work featured in my IG stories! ![]() Sara
Sara

Interested in more cute crochet patterns? Check these out!
What you will need for your Mouse Candy Cane Ornament Crochet Pattern
Materials:
Hook size 3.75 mm (F) Clover Amour
Yarn: Medium Weight (4) – Shown using Knit Picks Brava Worsted
| Main Colour | |
| Silver (Grey) | 25 yards |
| Accent Colours | |
| Cream (Cream), Red (Red), Grass (Green) | Small Amount |
| Curly Cue Arms/Legs (Colour of Choice) (Optional) | 15 yards |
- 6mm safety eyes OR 6mm flat back black pearls (optional)
- Polyester filling
- 2 Mini Candy Canes (approx. 3” long) for the arms/legs
- Twine (optional)
- 4 x 10mm Bells (optional for Curly Cue arms/legs)
- Stitch Markers & Safety Pins to help with sewing placement
- Yarn Needle to weave in the ends

Gauge:
4 rounds of sc = 1.5 inches diameter
Gauge Pattern:
Create a Magic Ring
Round 1: 6sc in the ring (6)
Round 2: 2sc in each st (12)
Round 3: *sc, 2sc* 6 times (18)
Round 4: *sc in the next 2 sts, 2sc* 6 times (24)
Abbreviations:
| BLO | Back Loop Only |
| ch | chain |
| dc | double crochet |
| FLO | Front Loop Only |
| sc | single crochet |
| scdec | single crochet decrease |
| ss | slip stitch |
| st(s) | stich(es) |
| *to* | repeat the sequence between the ** the number of times indicated |
Special Stitches & Techniques:
Free Video Tutorials for this quick and easy crochet pattern
Magic ring
Nose embroidery
Sleepy Eye (if not using safety eyes/flat back pearls)
How to Close the Head and Begin the Body
Notes:
- #sc (eg. 2sc, 3sc, etc) shows the number of scs to be completed in the indicated st
- sts listed within brackets are to be worked in the same st. Eg. (Sc, hdc)
- I highly recommend using a stitch marker to help keep track of the rounds
- All rounds will be continuous (unless otherwise stated).
- When changing colours, end off previous colour unless noted otherwise.
Check out the Candy Cane Ornament Collection in a 16 Pattern Bundle on Ravelry or Etsy!
Start your Mouse Candy Cane Ornament Crochet Pattern
Candy Cane Mouse Head/Body:
The head/body is created in continuous rounds beginning with the head
Using Grey, create a Magic Ring
Round 1: 6sc in the ring (6)
Round 2: *2sc* 6 times (12)
Round 3: *sc, 2sc* 6 times (18)
Round 4: *sc in the next 2 sts, 2sc* 6 times (24)
Rounds 5-10: sc in each st (24)
Round 11: *sc in the next 2 sts, scdec* 6 times (18)
Round 12: *sc in the next st, scdec* 6 times (12)
See Video for assistance with the next 2 Rounds
Round 13: FLO for the entire round, sc in each st (12), do not end off…
- Place a stitch marker in the loop on your hook to keep it from pulling out.
- Place on a flat surface with the top of the head facing away from you and the last stitch sitting at the far right (far left if left handed) and ‘flatten’ the head down.
- If using – add safety eyes to Round 7 approx 4 sts apart
- Lightly stuff the head. Flatten the head down.
- Using a scrap piece of yarn and starting with the first and last st of Round 13, mattress stitch in the back loops of Round 12, across the opening.
- Continue working Round 14 from where you left off after Round 13.
Round 14: creating the arm holes *ch5, sc in the next 6 sts* twice (12 + 10chs)
Round 15: *sc in the next 5 chs, sc in the next 6 sts* twice (22)
Round 16: *sc in the next 9 sts, scdec* twice (20)
Rounds 17-18: sc in each st (20)
Round 19: *sc in the next 8 sts, scdec* twice (18)
Rounds 20-23: sc in each st (18)
End off, by slip stitching to the next st, weave in end.
Candy Cane Mouse Muzzle:
The muzzle is worked from the tip back, in continuous rounds.
Using Grey, create a Magic Ring
Round 1: 6sc in the Ring (6)
Round 2: *sc, 2sc* 3 times (9)
Round 3: sc in each st (9)
End off, leaving a 12” tail for sewing. See video to embroider nose (using Cream) onto the muzzle before sewing the muzzle to the head
Candy Cane Mouse Ears (make 2):
Each ear is made in 2 continuous round pieces. Make 1 inner and 1 outer for each ear, then crochet the pieces together.
Piece 1:
Using Cream, create a Magic Ring
Round 1: 6sc in the ring (6)
Round 2: *2sc* 6 times (12)
End off, weave in ends
Piece 2:
Using Grey, create a Magic Ring
Round 1: 6sc in the ring (6)
Round 2: *2sc* 6 times (12)
Round 3: With RS facing up for both pieces. Place Piece 1 on top of Piece 2, working through both pieces, *sc, 2sc* 9 times (18), skip the next 3 sts, ss into the next st (this will fold the ear slightly). End off, leaving a 9” tail for sewing.
Candy Cane Mouse Tail:
Created in 1 row.
Using Cream, ch 11
Round 1: ss in the 2nd ch from the hook, ss in the next 9 chs (10)
End off, leaving a 6” tail for sewing
Candy Cane Mouse Bow:
Using Red, ch 3, join to the first chain to create a loop
Round 1: Ch2, dc in the loop, ch2, ss into the loop, ch2, dc in the loop, ch2, ss into the loop
End off, leaving an 18” tail. Wrap the tail around the centre of the bow 6-8 times, secure the tail at the back of the bow. Use the remaining tail for sewing.
Candy Cane Mouse Scarf:
Created in a ch.
Using Green, ch 35
End off, cut ends close to beginning and end of chain.
Alternative: Curly Cue Arms/Legs (make 2, if not using candy canes):
Created in 1 row
Using Colour of Choice, ch 36
Row 1: 3sc in the 2nd ch from the hook, 3sc in each of the next 34chs (105)
End off, Sew on bells if desired, Weave in ends
Sewing Placement – I highly recommend pinning ALL parts in place BEFORE sewing to make sure everything sits properly and is to your liking 🙂
| (Safety eyes): Hot glue on the flat backed pearl or embEyes (if not using safety eyes): Hot glue on the flat backed pearl or embroider eye/sleepy eye at approx. Round 7, 4 sts apart. See video for assistance |
| Muzzle: If you haven’t already, using Cream, embroider on the nose (see vide ). Place the muzzle centred just below the eyes between Rounds 9-12. Stuff lightly and sew in place along Round 3 of the muzzle. |
| Ears: With skipped stitches (from ending off) resting on the head. Place the ears on either side of the head between Rounds 5-6. Sew in place. |
| Bow: Place as desired on the inner edge of one of the ears |
| Tail: Place the tail centred at the back of the body on Rounds 20-21. Sew in place. |
| Scarf: Tie in place around the neck |
| Ornament Hanger Cut a piece of twine approx 6” long. Sew through the top of the head. Tie a knot. |
| Arms/Legs: Add your mini candy canes or curly cues into the holes made in Round 14 of the Head/Body. |
Congratulations!
You have now completed your Mouse Candy Cane Ornament Crochet Pattern.
We love seeing your finished projects. Tag us in your photos and posts using #DarlingMapleDesigns or @darlingmapledesigns.
What Else Can I Use for This Holder Other Than Candy Canes?
The mouse amigurumi ornament makes a cute and unique decoration for any season. Swap candy canes for pretzel sticks, lollipops, or liquorice twists to fit parties & gatherings, birthdays, or autumn festivities. This versatile design brings handmade fun to all kinds of celebrations. Here’s some alternative options.
- Back-to-School Season – With a scholarly vibe reminiscent of characters like Stuart Little, this mouse ornament makes a cute desk or classroom decoration, especially in late summer or fall.
- Easter and Springtime – Evoking the charm of The Country Mouse and the City Mouse, the mouse ornament can fit right into spring celebrations with floral-patterned or pastel accessories.
- Harvest Festival or Thanksgiving – Inspired by field mouse tales like Frederick by Leo Lionni, this mouse brings a cozy feel to autumn displays, especially when holding pretzel sticks.
- Children’s Movie Nights – Inspired by beloved characters like Fievel from An American Tail, this mouse ornament makes a cute movie-night memento or party favor.
- Housewarming or Moving-In Gifts – Mice symbolize warmth and coziness, making this ornament a thoughtful gift for new homeowners or a perfect addition to housewarming decor.
Or instead of candy of course, you can use the included pattern to create curly cues for legs and arms. These can be permanently attached to the mini amigurumi, adding a playful twist to your mouse ornament for all-year-round enjoyment.
Thank you so much for joining us! I hope you loved completing your Mouse Candy Cane Crochet Pattern as much as I enjoyed designing it for you. Don’t want to miss a stitch? Subscribe to the Darling Maple Designs newsletter and I’ll send updates for new pattern releases, sales and promotions straight to your inbox. See you again soon! Sara <3
If you have any questions or concerns with this, or any other pattern written by Darling Maple Designs, please do not hesitate to contact me at: info@darlingmapledesigns.com.
Don’t forget to Pin it to your project board.
Check out my other crochet candy cane ornament patterns!
- Santa
- Snowman
- Reindeer
- Kitty
- Dinosaur
- Unicorn
- Bear
- Puppy
- Mrs Claus
- Elf
- Mouse
- Moose
- Gingerbread Boy
- Gingerbread Girl
- Penguin
- Giraffe


